 Xcodes.app
The easiest way to install and switch between multiple versions of Xcode.
_If you're looking for a command-line version of Xcodes.app, try [`xcodes`](https://github.com/XcodesOrg/xcodes)._


### :tada: Announcment
XcodesApp is now part of the `XcodesOrg` - [read more here](nextstep.md)
## Features
- List all available Xcode versions from [Xcode Releases'](https://xcodereleases.com) data or the Apple Developer website.
- Install any Xcode version, **fully automated** from start to finish. Xcodes uses [`aria2`](https://aria2.github.io), which uses up to 16 connections to download 3-5x faster than URLSession.
- Automatically resumes installs if network errors.
- Apple ID required to download Xcode versions.
- Just click a button to make a version active with `xcode-select`.
- View release notes, OS compatibility, included SDKs and compilers from [Xcode Releases](https://xcodereleases.com).
- Dark/Light Mode supported
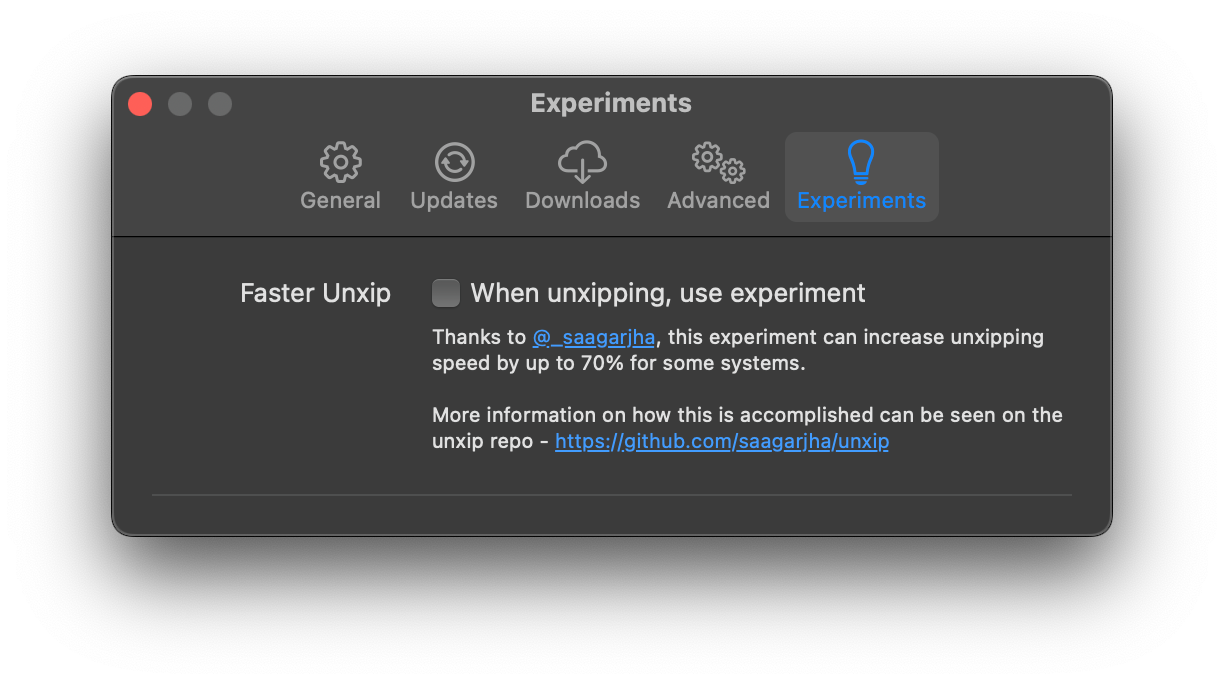
## Experiments
- Thanks to the wonderful work of [https://github.com/saagarjha/unxip](https://github.com/saagarjha/unxip), turn on the experiment to increase your unxipping time by up to 70%! More can be found on his repo, but bugs, high memory may occur if used.

## Localization
Xcodes supports localization in several languages.
The following languages are supported because of the following community users!
|||||
|-|-|-|-|
|French 🇫🇷 |[@dompepin](https://github.com/dompepin)|Italian 🇮🇹 |[gualtierofrigerio](https://github.com/gualtierofrigerio)|
|Spanish 🇪🇸🇲 |[@cesartru88](https://github.com/cesartru88)|Korean 🇰🇷 |[@ryan-son](https://github.com/ryan-son)|
|Russian 🇷🇺 |[@alexmazlov](https://github.com/alexmazlov)|Turkish 🇹🇷 |[@egesucu](https://github.com/egesucu)|
|Hindi 🇮🇳 |[@KGurpreet](https://github.com/KGurpreet)|Chinese-Simplified 🇨🇳|[@megabitsenmzq](https://github.com/megabitsenmzq)|
|Finnish 🇫🇮 |[@marcusziade](https://github.com/marcusziade)|Chinese-Traditional 🇹🇼|[@itszero](https://github.com/itszero)|
|Ukranian 🇺🇦 |[@gelosi](https://github.com/gelosi)|Japanese 🇯🇵|[@tatsuz0u](https://github.com/tatsuz0u)|
|German 🇩🇪|[@drct](https://github.com/drct)|Dutch 🇳🇱|[@jfversluis](https://github/com/jfversluis)|
|Brazilian Portuguese 🇧🇷|[@brunomunizaf](https://github.com/brunomunizaf)|Polish 🇵🇱|[@jakex7](https://github.com/jakex7)|
Want to add more languages? Simply create a PR with the updated strings file.
## Installation
Xcodes.app runs on macOS Big Sur 11.0 or later.
### Install with Homebrew
Developer ID-signed and notarized release builds are available on Homebrew. These don't require Xcode to already be installed in order to use.
```sh
brew install --cask xcodes
```
### Manually install
1. Download the latest version [here](https://github.com/XcodesOrg/XcodesApp/releases/latest) using the **Xcodes.zip** asset. These are Developer ID-signed and notarized release builds and don't require Xcode to already be installed in order to use.
2. Move the unzipped `Xcodes.app` to your `/Applications` directory
## Development
You'll need macOS 12 Big Sur and Xcode 13 in order to build and run Xcodes.app.
`Unxip` and `aria2` must be compiled as a universal binary
```
# compile for Intel
swiftc -parse-as-library -O -target x86_64-apple-macos11 unxip.swift
# compile for M1
swiftc -parse-as-library -O -target arm64-apple-macos11 unxip.swift
# combine for universal binary
lipo -create -output unxip unxip_intel unxip_m1
# check it
lipo -archs unxip
```
Notable design decisions are recorded in [DECISIONS.md](./DECISIONS.md). The Apple authentication flow is described in [Apple.paw](./Apple.paw), which will allow you to play with the API endpoints that are involved using the [Paw](https://paw.cloud) app.
[`xcode-install`](https://github.com/xcpretty/xcode-install) and [fastlane/spaceship](https://github.com/fastlane/fastlane/tree/master/spaceship) both deserve credit for figuring out the hard parts of what makes this possible.
Releasing a new version
Follow the steps below to build and release a new version of Xcodes.app. For any of the git steps, you can use your preferred tool, but please sign the tag.
```sh
# Update the version number in Xcode and commit the change, if necessary
# Question: Did anything in XPCHelper change?
# - com.robotsandpencils.XcodesApp.Helper folder and HelperXPCShared
# - if so, bump the version number in com.robotsandpencils.XcodesApp.Helper target.
# Note: you do not have to bump the version number if nothing has changed.
# Note2: If you do bump the version, the end user, must re-install the XPCHelper and give permission again.
# Increment the build number
scripts/increment_build_number.sh
# Commit the change
git add Xcodes/Resources/Info.plist
git commit -asm "Increment build number"
# Tag the latest commit
# Replace $VERSION and $BUILD below with the latest real values
git tag -asm "v$VERSIONb$BUILD" "v$VERSIONb$BUILD"
# Push to origin
git push --follow-tags
# Build the app
# Make sure you have the Xcode Selected you want to build with
scripts/package_release.sh
# Notarize the app
# Do this from the Product directory so the app is zipped without being nested inside Product
# Create a app specific password on appleid.apple.com if you haven't already
# xcrun notarytool store-credentials "AC_PASSWORD" \
# --apple-id "test@example.com" \
# --team-id "teamid" \
# --password "app specific password"
pushd Product
../scripts/notarize.sh Xcodes.zip
# Sign the .zip for Sparkle, note the signature in the output for later
# If you're warned about the signing key not being found, see the Xcodes 1Password vault for the key and installation instructions.
../scripts/sign_update Xcodes.zip
popd
# Go to https://github.com/XcodesOrg/XcodesApp/releases
# If there are uncategorized PRs, add the appropriate label and run the Release Drafter action manually
# Edit the latest draft release
# Set its tag to the tag you just pushed
# Set its title to a string with the format "$VERSION ($BUILD)"
# Polish the draft release notes, if necessary
# Add the signature to the bottom of the release notes in a comment, like:
# Attach the zip that was created in the Product directory to the release
# Publish the release
# Update the [Homebrew Cask](https://github.com/RobotsAndPencils/homebrew-cask/blob/master/Casks/xcodes.rb).
```
## Maintainers
[Matt Kiazyk](https://github.com/mattkiazyk) - [Twitter](https://www.twitter.com/mattkiazyk)
[Twitter](https://twitter.com/xcodesApp) | [GitHub](https://github.com/xcodesOrg)